Featured Products
(€99.99 inc VAT)
(€176.82 inc VAT)
(€100.06 inc VAT)
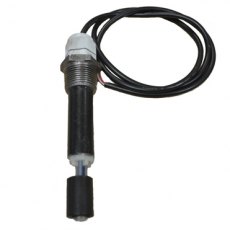
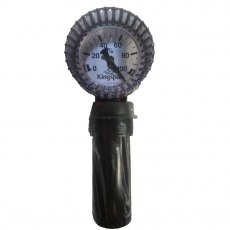
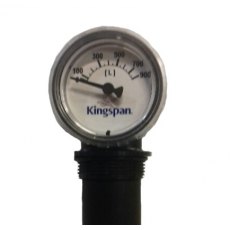
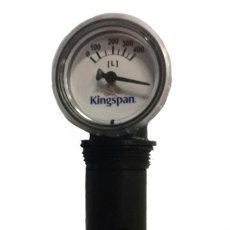
Tank Gauges and Tank Alarms
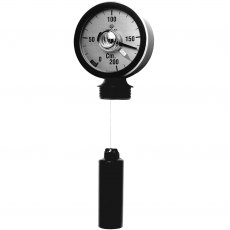
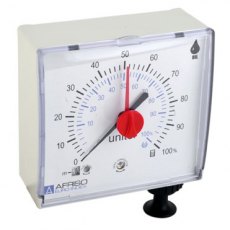
Although we stock a wide range of oil tank gauges, they all do essentially the same thing – they provide a reading on the contents remaining in your oil tank. Our range of oil tank gauges are easy to install as replacement models or for installing as part of a new tank installation.
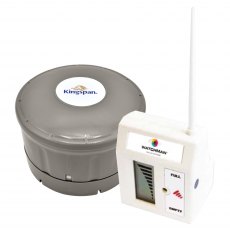
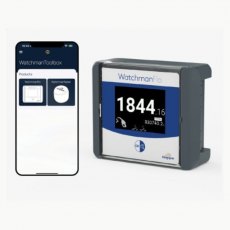
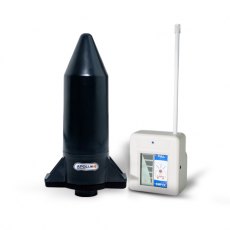
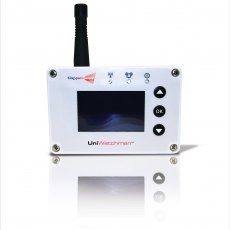
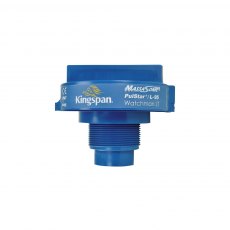
Other remote content gauges use a transmitter to relay tank oil to a receiver in the home or office so that you can monitor oil levels remotely. In fact, our smart Wi-Fi enabled tank level monitor from Kingspan's SENSiT enables you to monitor your oil levels from your phone, through a smartphone app. It can tell you if your tank is running low, alert you to sudden drops, predict when you will run out of fuel and tell you how much oil you are consuming — all at your fingertips! Link it to Amazon's Alexa and ask “Alexa, how much oil do I have in my tank?”.
We also supply oil tank gauges that don’t need any power to function. These are simple, low-cost gauges that come in different sizes to suit different sized tanks.
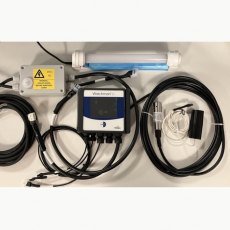
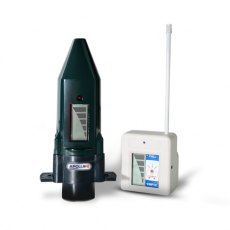
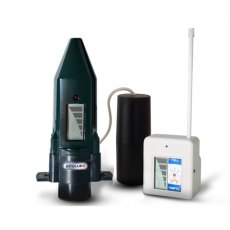
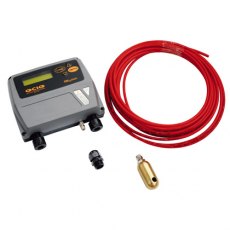
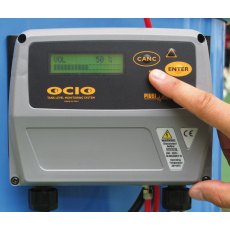
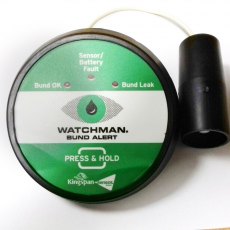
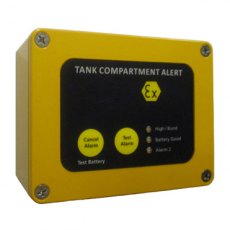
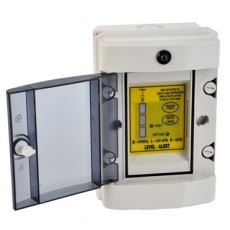
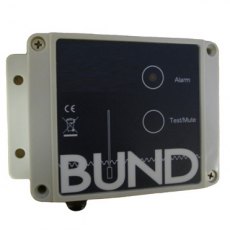
An oil bund alarm is a monitoring device that detects potential leaks or spills in the secondary containment area, known as the bund, surrounding your oil storage tank. Purchasing one is not just about compliance with environmental regulations; it's about safeguarding your property and the environment.
The primary purpose of a bund alarm is to provide early detection of leaks, preventing oil spills from reaching the surroundings and causing environmental harm. This proactive approach not only mitigates the risk of environmental damage but also protects you from potential legal consequences and financial liabilities associated with oil spills. In addition to environmental concerns, oil bund alarms contribute to maintaining the integrity of your oil storage infrastructure, preventing costly repairs and downtime.
Investing in an oil bund alarm from Fuel Tank Shop is a smart decision for anyone who understands the value of protecting their investment in oil storage. These alarms offer real-time monitoring and immediate alerts, allowing you to take swift action in the event of a leak. Beyond compliance and risk mitigation, an oil bund alarm grants you the confidence that your oil storage system is operating safely and efficiently.
Tank Gauges and Tank Alarms FAQs
What are the advantages of a Tiger Loop?
The Tiger Loop is a de-aeration device which removes air from the fuel prior to combustion. The result is a cleaner, more-efficient burn, with reduced emissions and enhanced cold weather performance. Additionally, the Tiger Loop can permit the tank to be positioned lower than the burner and up to 30 metres away. Therefore when connected to a pressure jet burner, it is ideal for Top Outlet Bunded Tank installations and eliminates the need for an undesirable return line. Please note that Tiger Loops are unsuitable for use with installations incorporating a vaporising burner.
How do I prime a Tiger Loop?
The Tiger Loop is self priming.
Does a Tiger Loop require batteries or mains power?
No.
Do You Supply Dipsticks?
No – not as separate items. However, dipsticks are supplied as standard on all Harlequin tanks with a capacity between 650 litres and 2700 litres as standard.
Do You Sell Gravity Feed Kits for the Delivery of Diesel Fuel?
No, as an environmentally responsible supplier we do not supply these kits, due to the high risk of accidental damage / discharge associated with their use. Additionally, at many installations today their continued use is illegal. If you require a tank to store diesel fuel for vehicular use, we would advise you consider a Harlequin Fuel Station, or Fuel Point.
How accurate are oil tank gauges?
Just like in your car, oil tank gauges measure the level of fuel remaining by using a float. With visual oil tank gauges, you will see a vial or clock that tell you whether your tank is full, ¾-full, ½-full, ¼-full or near empty. Levels may also be displayed as a percentage. These provide a good estimate of how much oil you have left in your tank and are useful for letting you know when you may need more. Oil tank gauges usually have a rigid metal rod attached to a float inside the oil tank. As the oil is consumed, the float falls accordingly and the gauge reading drops. However, because the bottom of a fuel oil tank is usually rounded, the gauge will go from a quarter-full to empty quicker than it goes from half-full to a quarter. This means they are not completely accurate and should only be used as a guide as to how much oil remains in the tank.
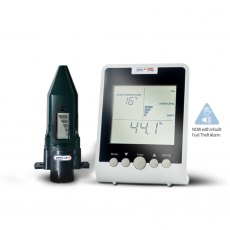
For more precise oil tank readings, a smart oil tank gauge uses an ultrasonic sensor that can provide accurate readings to within a few litres.
How do you read the gauge on an oil tank?
This will depend on the type of oil tank gauge you have. Heating oil tanks that sit above the ground typically have a float gauge up top, which have an arm with a floating end on it. As oil is consumed, the float falls accordingly. The disc or needle on the indicator will move up and down as the float inside the tank moves, indicating the approximate level of oil in the tank. If your tank holds 1250 litres of oil, ½ a tank means approximately 625 litres remain. If the disc is showing ¼ of a tank, there’s 312 litres remaining and if it’s showing ¾ of a tank, there’s about 938 litres remaining. The levels may also be displayed as a percentage.
If your oil tank gauge uses an ultrasonic sensor, like our range of smart oil tank gauges, you’ll be able to read a much more precise tank level by simply opening the app. Except for the top 8 inches of your tank, smart oil gauges will provide readings within a few litres in your tank.
Do I read top or bottom of oil tank gauge?
Some people get confused when taking a reading on their oil tank gauge – whether they should use the top or the bottom as the indicator. Read the gauge on the top of the tank. It will tell you if your tank is full, three-quarters full, half-full, a quarter-full or near empty. The levels may also be presented as a percentage.
Because of the rounded bottom of an oil tank, you may notice that the gauge goes from a quarter-full to empty quicker than it goes from half-full to a quarter. For this reason, you should only use float gauges as an estimation of how much fuel is left in the tank and it is advisable to reorder oil when the gauge is reading ¼ full to avoid running out.
How do I know how much oil is in my tank?
You can find out how much oil is left in your oil tank by checking the oil tank gauge. How you do this will depend on the type of oil tank gauge you have. If you have a smart oil tank gauge, you’ll be able to read a much more precise tank level by simply opening the app. You can usually set up notifications that will alert you when your tank is starting to run low. Or perhaps you’re using a visual oil gauge. As oil is consumed, the float level drops and the disc inside the float gauge vial indicates the approximate level of oil in the tank – shown either as a percentage or full, ¾-full, ½-full, ¼-full etc. If you’re using a float gauge, it's a good idea to set a regular day to check your tank's oil level to avoid running out of oil. Set a reminder on your calendar or phone marking specific days to check your oil tank. It is also important to check that your gauge is in good working order. If you’ve had your heating on but the dial hasn’t moved in a while, there's a good chance it's not reading the level correctly.
What liquids are the Apollo remote electronic gauges used to monitor?
Kerosene (C1/C2), Agricultural Fuel Oil (A2), Diesel (D) and Water. To see our range of Apollo Alarms click here.
What does an oil gauge do?
An oil gauge sits inside your oil tank and lets you know how much oil remains. A basic sight gauge has a clear tube that runs all the way from the outlet at the bottom of the tank, showing you exactly where the fuel level is. Float gauges use a float that that goes down with the oil as it is used, usually displaying the oil level on a clock face. More technical devices, like Kingspan's SENSiT smart Wi-Fi enabled tank level monitor, enable you to monitor your oil levels through a smartphone app.
How do I replace an oil gauge?
If the gauge inside your tank has failed or needs replacing, don't worry — it is possible to replace it if you are careful. To replace a float gauge, you will need a replacement gauge, oil lubricant, a wrench, wire and a torch. Use lubricant on the tank cap to loosen it, before turning it carefully with a wrench. Be careful not to ruin the threads. Find the end of the old float gauge arm and pull it from the oil tank with a piece of wire. You may need a torch to see what you’re doing. Remove the gauge from the gauge pipe and place the new gauge inside. Re-insert the gauge and gauge pipe into the oil tank and close the lid.
How much oil should be in my oil tank?
It is important not to let your oil level fall too low. We recommend you keep at least 12 inches of oil at the bottom of your oil tank to avoid an emergency and to prevent a delivery disrupting the sediment that settles at the bottom of your tank. If this sediment is disturbed it can clog up filters and pipes, leading to costly repairs. Most manufacturers will state the capacity guide for each oil tank model.
How do you install a Watchman Sonic
Have you recently purchased a Watchman Sonic and unsure how to install it onto your oil tank? Here at Tanks.ie we can provide you with an easy step by step guide to help you correctly install your Watchman Sonic on to your tank.
HOW DO I INSTALL THE WATCHMAN SONIC?
To ensure a quick and easy installation of the Watchman Sonic, please follow the below steps.
Parts required for installation
STEP 1 – CHECKING TANK’S LEVEL, DISTANCE FROM RECEIVER AND HEIGHT OF TANK.
There a few things to consider, even before you start to install your Watchman Sonic onto your tank.
- Is the tank on a flat level Surface
- Is the tank within 200 meters range from the receiver position
- Not including the base, is the maximum height of the tank 3 meters? If larger than this, please contact us.
STEP 2 – PREPARING YOUR TANK
Below are few steps for making sure your tank is ready for the Watchman Sonic, whether you have a Pr-Drilled tank or one which is undrilled, we have a step for you.
Please note that it is important for all items to be kept dry during the installation process, to achieve the best outcome.
PRE-DRILLED TANKS
With most pre-drilled tanks, there will already be a 32mm opening on the top of the tank, with possibly a tube fitted. If so, remove the cover by undoing the 2 screws holding it in place. Dispose of the tube which was fitted, in accordance with your local government guidelines.
Please check the pre-drilled hole is a minimum of 30mm in diameter.
The space beneath the Watchman Sonic needs to be free of any obstacles, so please check that the ultrasonic beam path is clear of any obstructions. If not this could send back false readings.
UN-DRILLED TANKS
When choosing the correct position on your tank to drill the hole required, consider choosing a flat level point that is the same level and no higher than any opening at the top of the tank. Like the Filling point etc.
If the transmitter is fixed at an angle, it will give an incorrect level reading on the receiver, so the straighter the better.
Take care not to choose an area where water could gather, i.e. a dent/depression or a position directly above any restricted area, as this can again give a false reading.
If your Un-drilled tank has window configurations or internal braces (like the below image), please do not position your watchman Sonic directly above these or within 15cm of the area of the window or edge of the tank. The sonic’s path needs to be completely clear to the bottom of the tank to work accurately.
Once you have found the correct position, drill a hole in the tanks top surface, using a 32mm hole-saw.
STEP 3 – FITTING THE TRANSMITTER
If your tank comes with a pre-drilled hole, please follow the next step to help fit the transmitter base to your tank.
- Remove the cap from the hole and insert the transmitter base (part B), ensuring the weather seal is securely in place
- Tighten the Watchman base on to the tank with 2 stainless steel self-tapping, counter sunkscrews supplied (part C). Please be careful not to over tighten the screws.
STEP 4 – MEASURE THE HEIGHT OF THE TANK
To accurately measure the height of your oil tank, measure from the base of the tank (not including the base/piers the tank is positioned on) to the position of the Watchman Sonic (should be the same as the fill point). For the Watchman Sonic to work, the maximum height is 3 meters for the measurement above.
STEP 5 – SETTING THE SWITCHES ON THE RECEIVER
Within your product packaging, use the Tank height chart, read across to the relevant multi switch setting, using the tank measurements you took in step 4. For example, if your measurement was 100cms, then the switches to flick up would be Switch 5 and switch 7.
To flick the switch upwards, using a screwdriver or top of ballpoint pen to set the relevant switches. These switches can be found on the on the back of the received above the plug (as in the position displayed below)
Switches 1 & 2 are factory set switches and have no relevance to the end user. If you wish to set a audible ring feature, then switch one needs to be moved up. This will cause the the unit to bleep in the event of a low level reading.
STEP 6 – LINKING RECEIVER AND TRANSMITTER
To pair the receiver (part A) to the transmitter (part D) so that the system code is unique to your tank set up, you will need to do the following and it should only need to be done once -
- Plug the receiver into a suitable and convenient electrical socket.
- Switch on
- The display screen on the front of the receiver will show a flashing bar. This will indicate that the receiver is waiting for the code required. The bar will continue to flash for upto 2 minutes, during which time, you should be able to pair the transmitter to the receiver.
- Hold the transmitter against the receivers right hand side, so that the white dot on the transmitter is touching the black dot on the receiver for roughly 20 seconds, to allow the unique code to be transferred. This is IMPORTANT to help with the pairing.
- Bars will start to increase up the display screen and a clicking sound should be audible. When all 10 bars are visible and flashing, this will indicate that the unique code has been transferred.
- Once matched, attached the transmitted immediately to the position on the tank.
- If you are installing more than one Watchman Sonic unit, please wait 9 minutes before matching the other units.
STEP 7 – ATTACHING THE TRANSMITTER TO THE BASE
Once paired, screw the transmitter (part D) into the base (part E), ensuring the transmitter is vertical on top of the tank and level.
Please match sure that the threads have not crossed, so when screwed in correctly it should give a secure seal.
STEP 8 - CHECKING THE LEVEL OF OIL WITHIN THE TANK
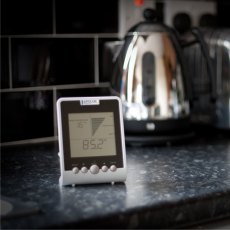
The bars on the visible screen of the receiver indicates the level of oil that is within your tank.
Please note that it can take up to 2 hours until the first accurate reading is dispalyed on the Watchman Sonic.
Congratulations your Watchman Sonic should now be successfully installed.
If you require any further technical information, or if your Watchman Sonic is not working as it should, please contact warranty@sensor-systems.com.
What liquids are the Apollo remote electronic gauges used to monitor?
Kerosene (C1/C2), Agricultural Fuel Oil (A2), Diesel (D) and Water.
Is an Apollo gauge compatible with a Watchman / Full Stop Handheld Unit?
No.

 Login
Login
